How to make your own coloring book at home
Your pages, your order, one book.
Drop a photo. We'll draw it.
JPG, PNG or WebP. Kids, pets, family, your house. You can also paste an image.
Your photos stay private. We never publish them.
Pages for a homemade book
Tap a page to compare it with the photo it came from.
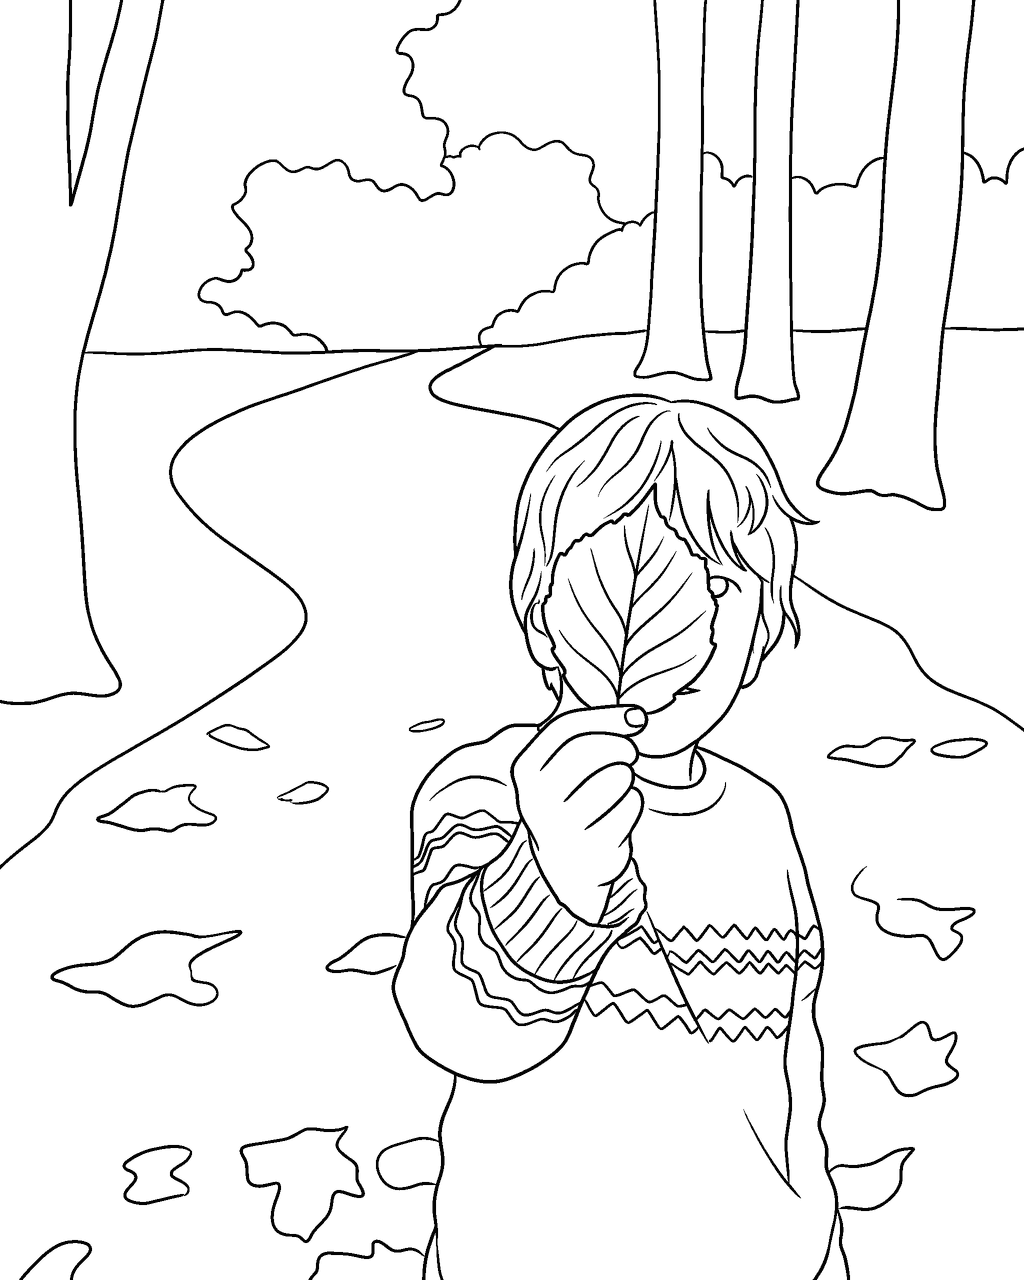
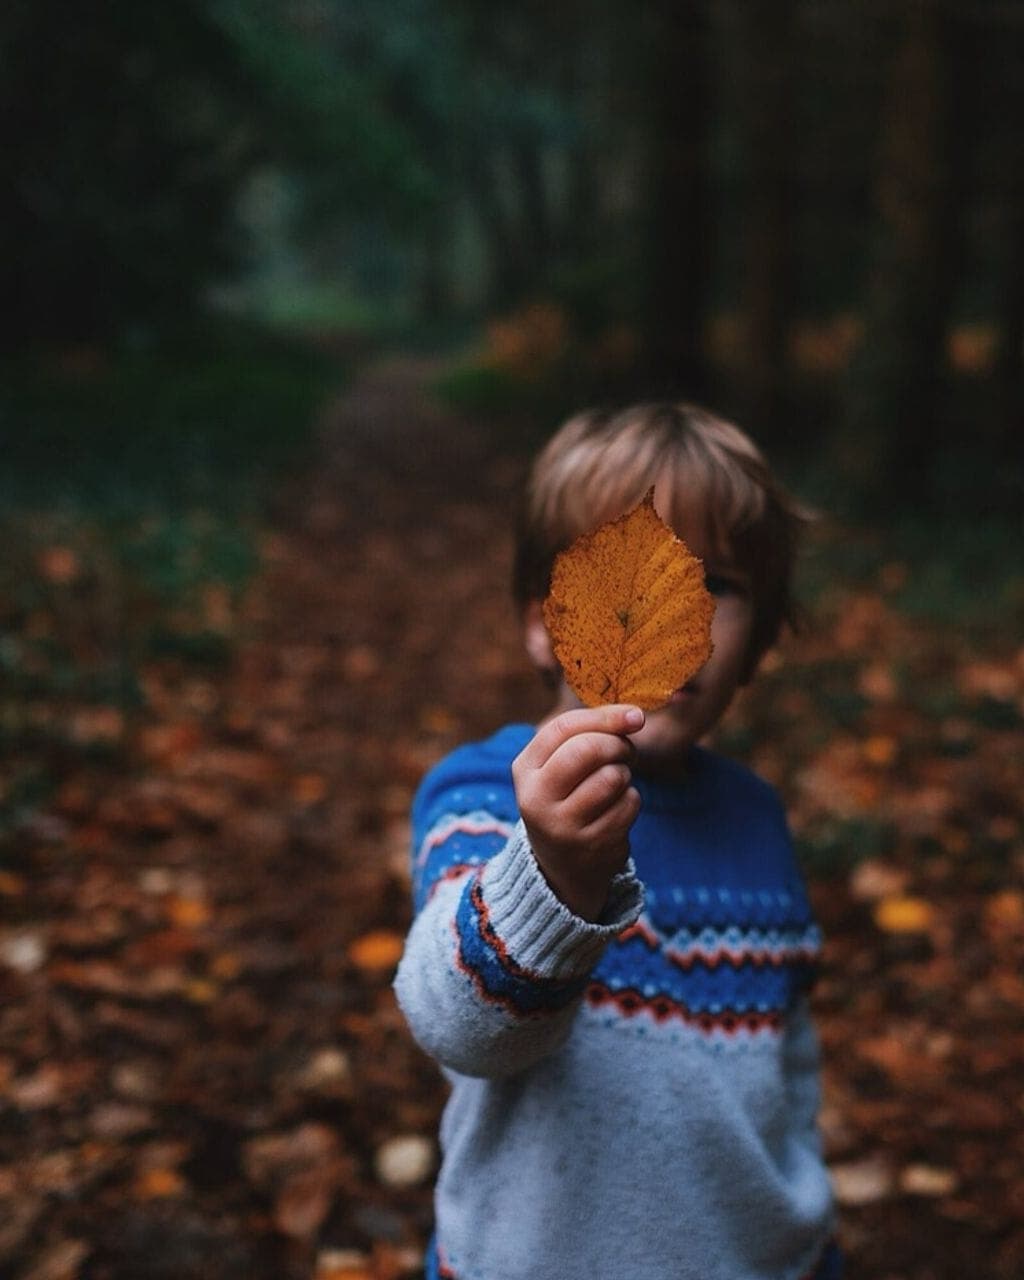
Fall leaf · Kids & people
Made with Picture to Coloring Page from this photo. Photo: Annie Spratt, CC0.
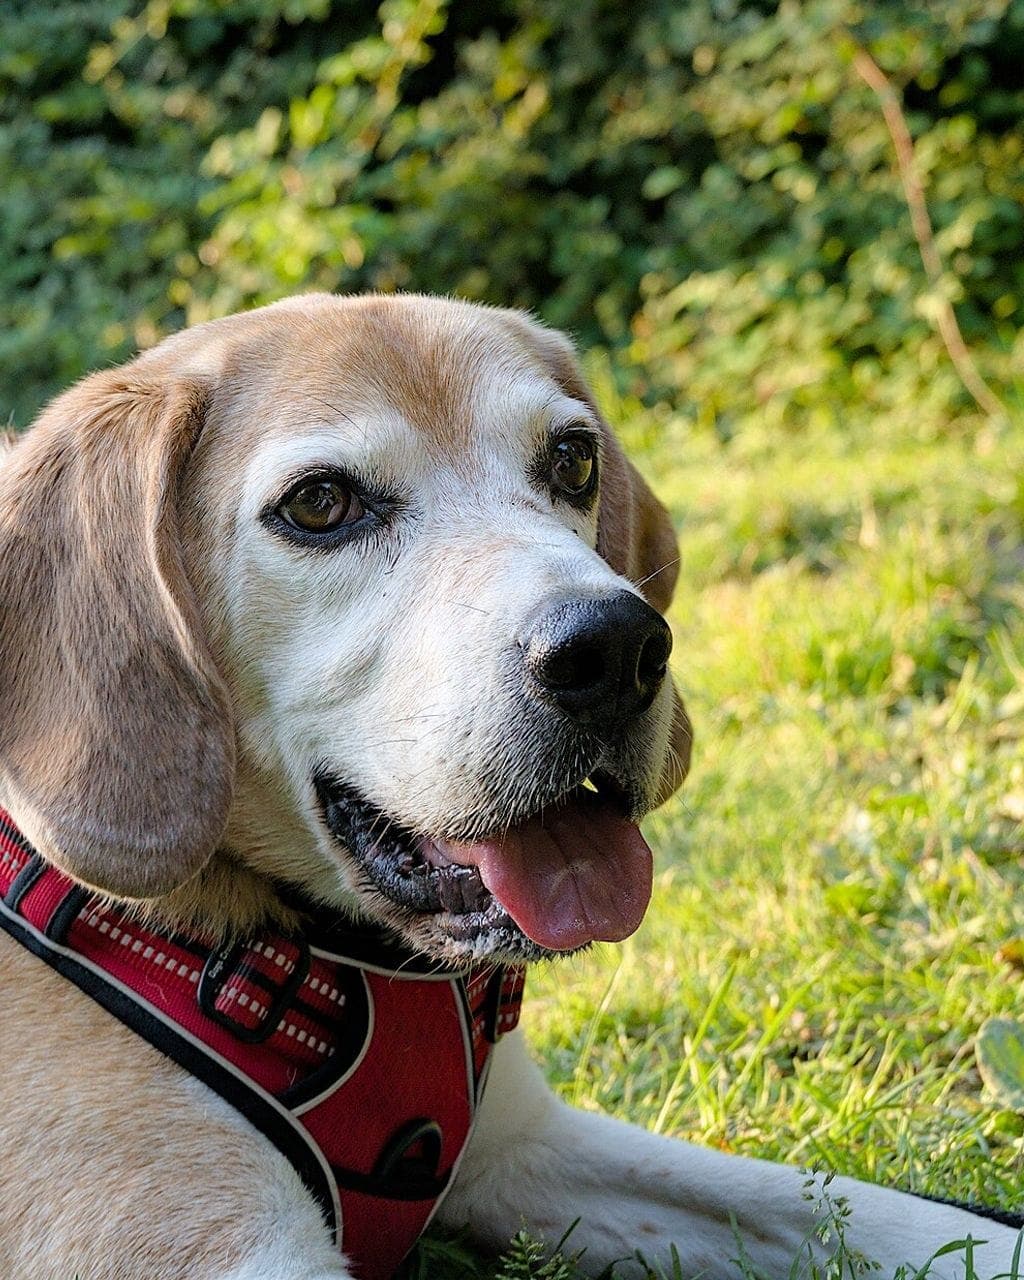
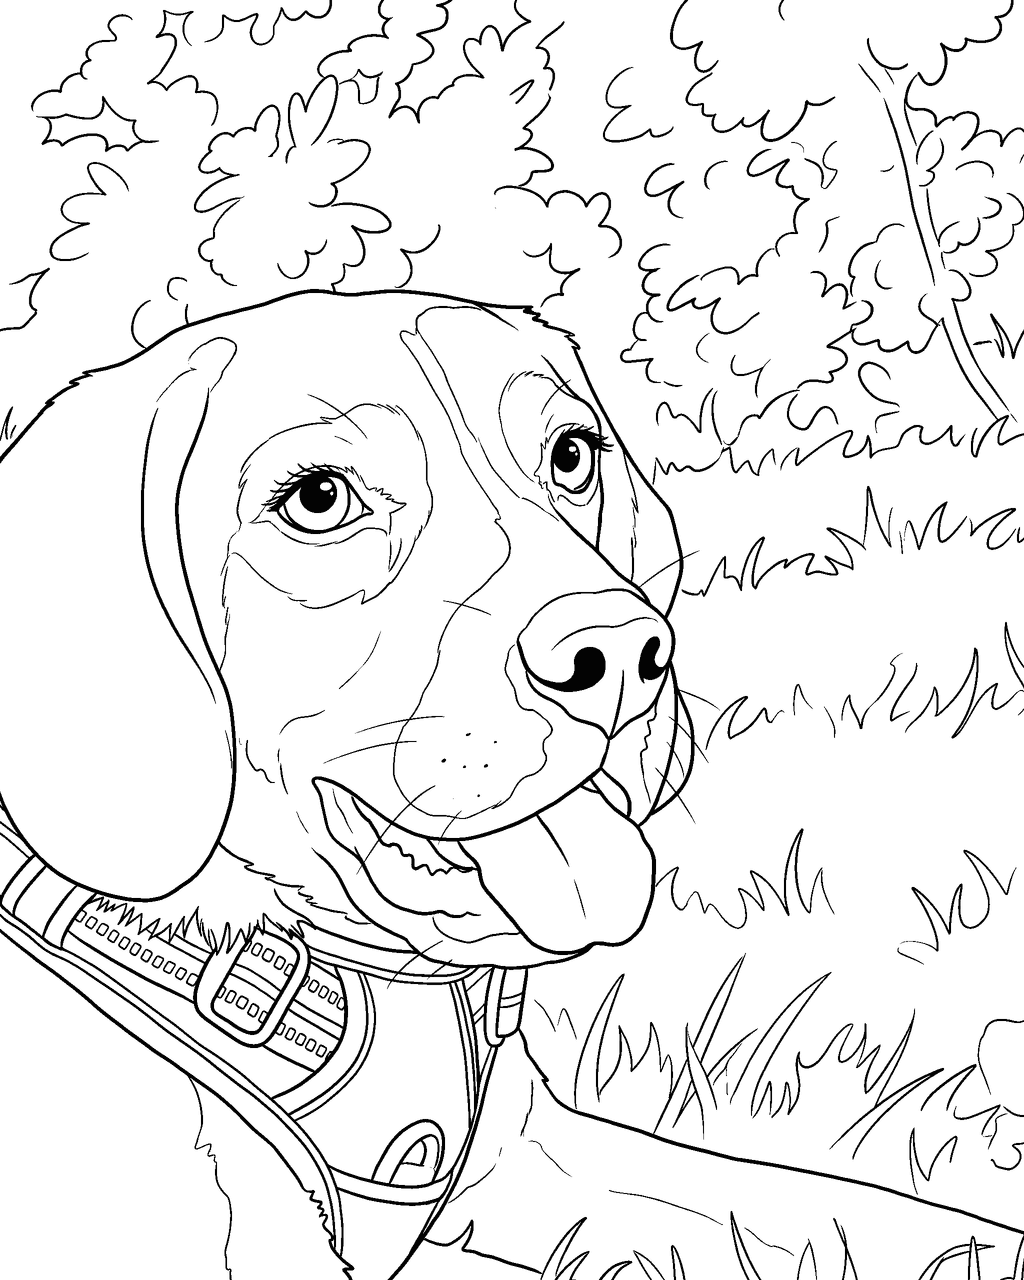
Beagle · Pets
Made with Picture to Coloring Page from this photo. Photo: Trougnouf (Benoit Brummer), CC BY 4.0.
Victorian house · Home & places
Made with Picture to Coloring Page from this photo. Photo: Rennett Stowe, CC BY 2.0.
Step 1: Choose your photos
Pick 8 to 24 photos with one clear subject each. A good homemade book mixes people, pets and places, and it has a story: a summer, a year, a family. Faces that fill the frame and daylight photos turn into the cleanest pages.
Step 2: Turn them into pages
Upload each photo with the tool above. Choose Easy lines for kids under five, Classic for school-age kids and Detailed for older kids and adults. Add a name or a caption under any page for free. Then add each page to your book.
Step 3: Pick your paper
Copy paper is fine for crayons and colored pencils. Markers bleed through thin paper, so print one-sided or use cardstock.
| Paper | US weight | Metric | Best for |
|---|---|---|---|
| Everyday copy paper | 20–24 lb bond | 75–90 gsm | Crayons, colored pencils, big batches |
| Premium copy paper | 28–32 lb bond | 105–120 gsm | Gel pens and light markers |
| Light cardstock | 65 lb cover | 176 gsm | Markers, watercolor pencils, gifts |
Step 4: Printer settings
A few settings make a big difference on a home printer:
- Print at 100% or “Actual size”, not “Fit to page”. Our PDFs already have 0.5 inch margins.
- Choose Grayscale or Black ink only. The pages are pure black and white, so you save your color cartridges.
- Pick the paper size that matches the PDF: Letter in the US and Canada, A4 almost everywhere else.
- Print one-sided if the kids will use markers.
Step 5: Bind it
| Binding | You need | Good to know |
|---|---|---|
| Staples | A long-reach stapler | Up to about 12 sheets. Fold in half for a booklet, or staple the left edge. |
| Binder clips | Two large clips | Kids can take pages out to color and put them back. Zero tools. |
| Three-hole punch + ribbon | Hole punch, ribbon or yarn | Looks handmade and pretty. Great for gifts. |
| Spiral binding | A copy or print shop | Lies flat while coloring. Usually a few dollars per book. |
Step 6: Crayons, pencils or markers?
Crayons are the safest pick for little kids and never bleed. Colored pencils are great for Classic and Detailed pages with small spaces. Markers give bright color but go through 20 lb paper, so slip a piece of cardboard under the page or use cardstock. Keep a few spare copies of the favorite pages: the best ones always get colored twice.
Questions about this
What is the cheapest way to make a coloring book at home?
Make the pages, download the book PDF, print it in black ink on regular copy paper and hold it together with two binder clips or staples. The paper and ink cost well under a dollar for a 12-page book.
Should I print on Letter or A4?
Use the paper you can buy where you live: Letter in the US and Canada, A4 in the UK, Australia and most other countries. Our PDFs come in both, so nothing is cut off.
Can a copy shop print and bind it?
Yes. Bring the book PDF on your phone or a USB stick and ask for one-sided black-and-white printing with spiral or comb binding.